Contest

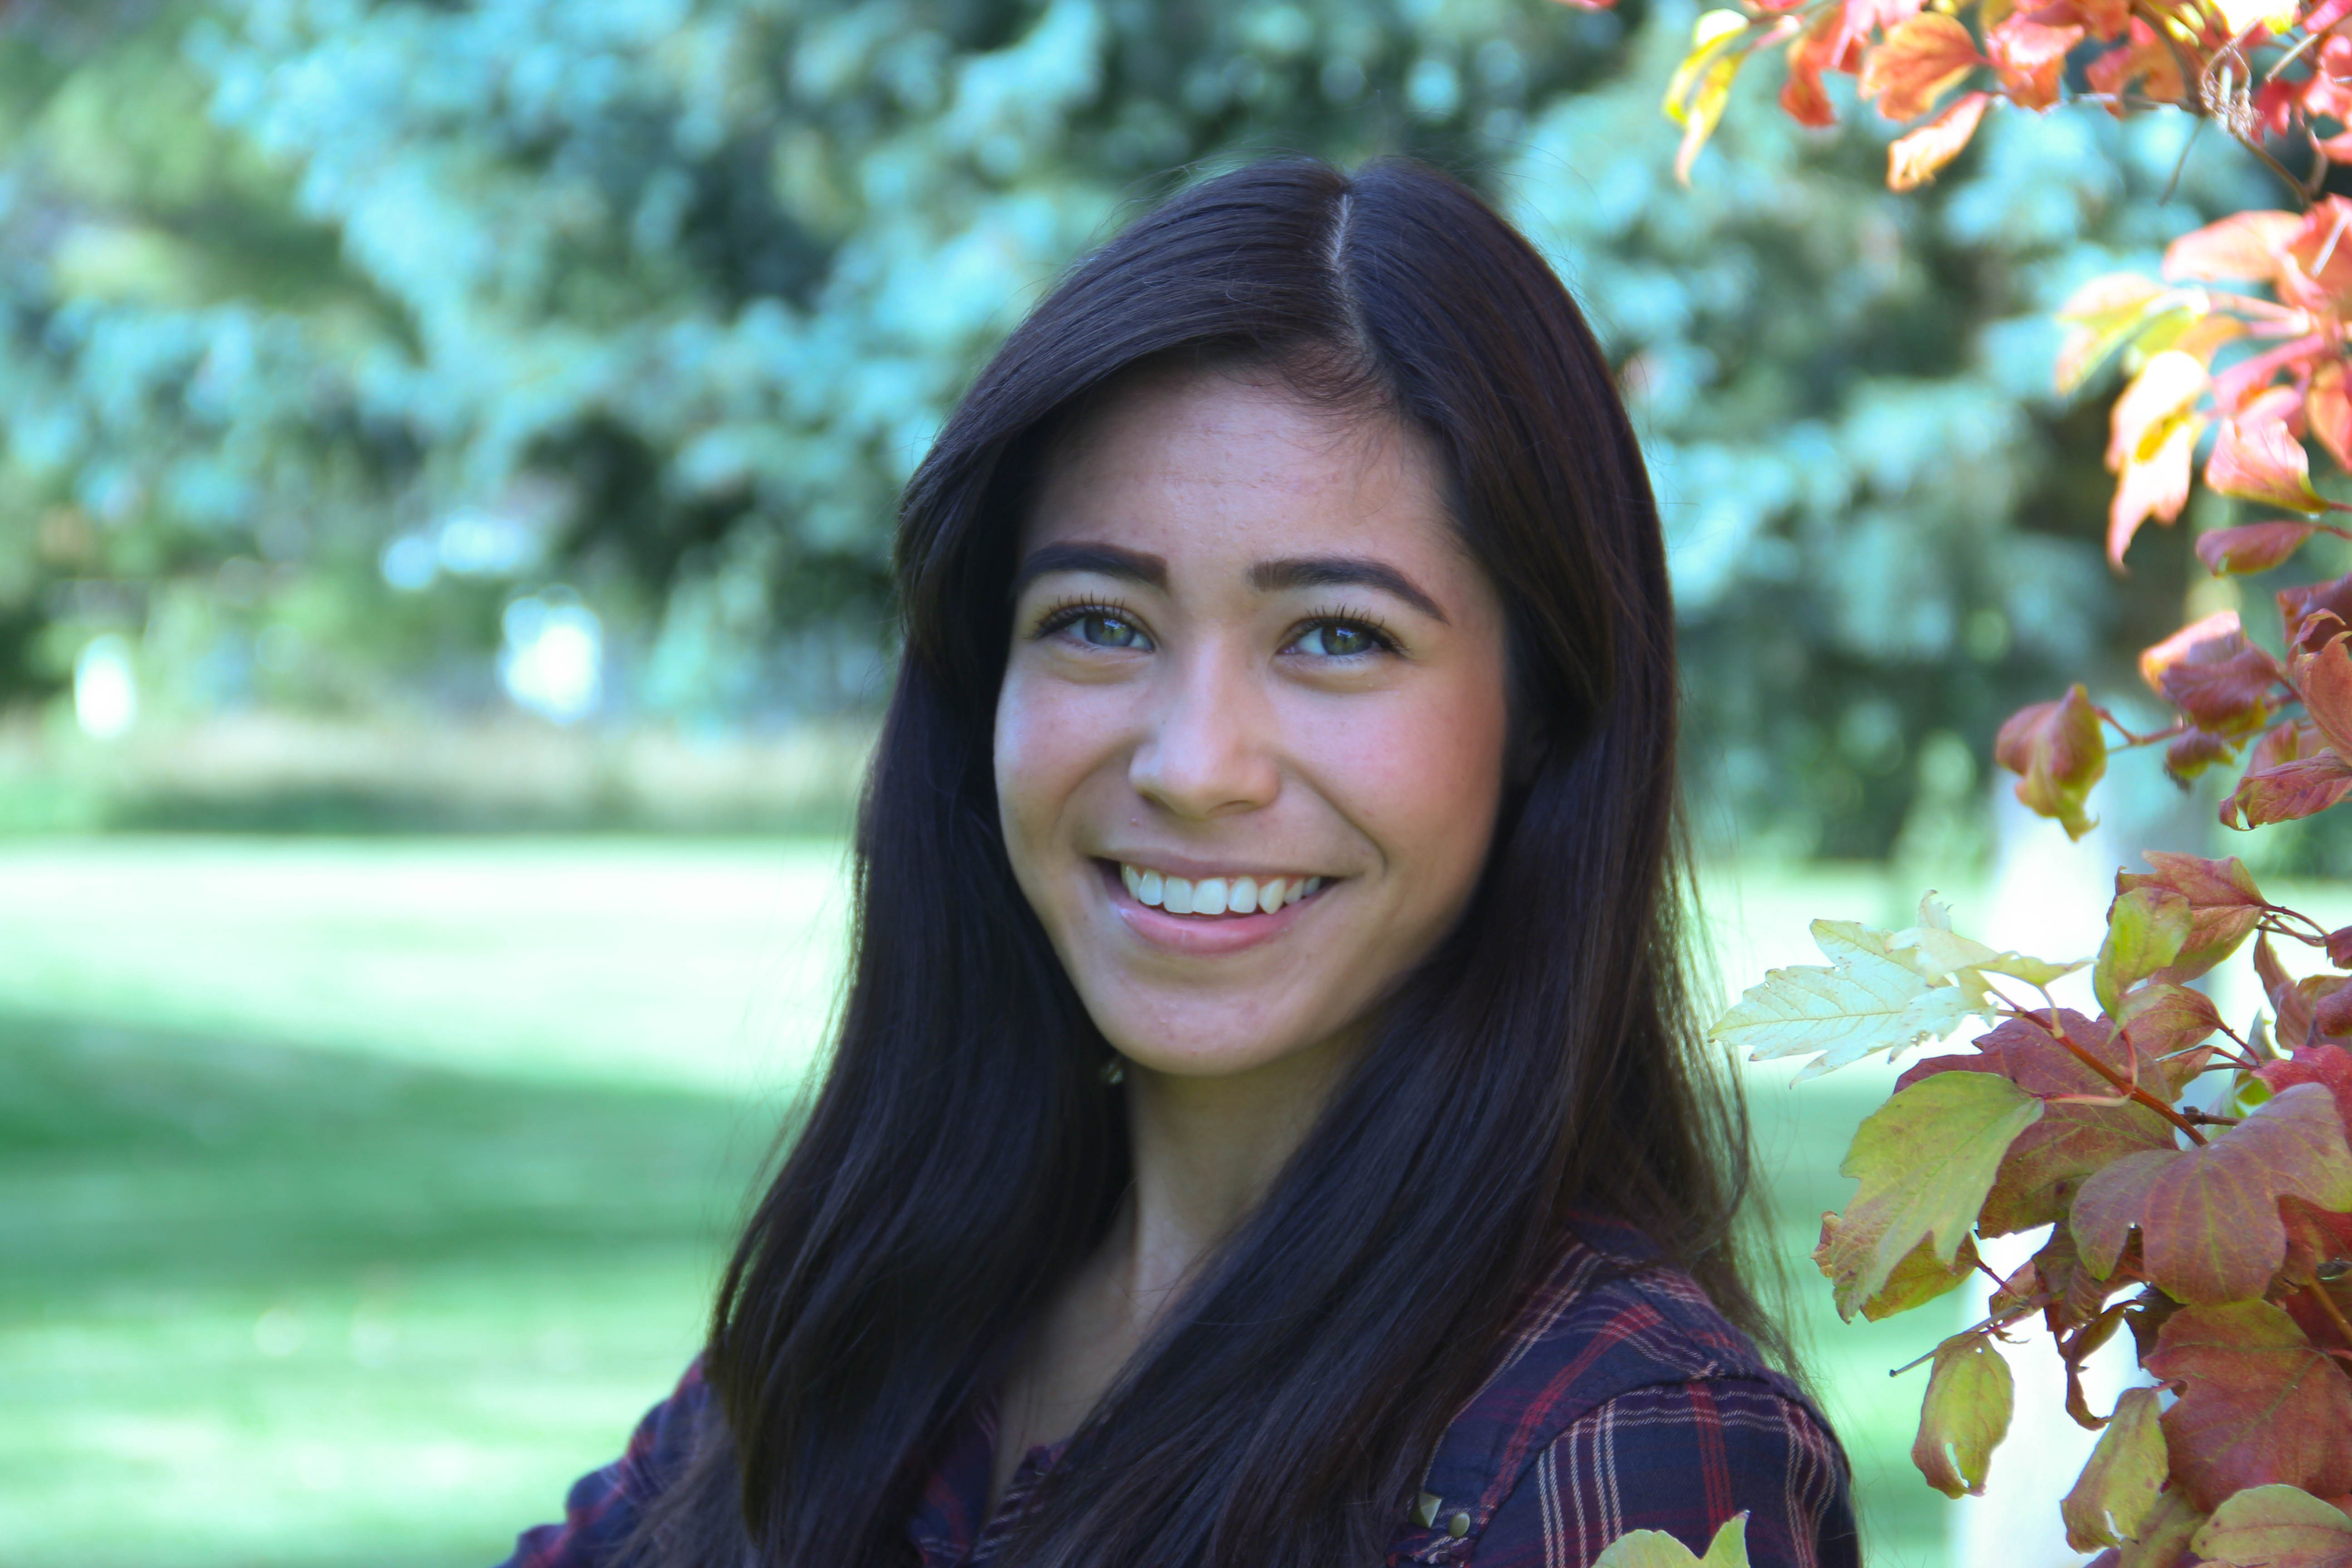
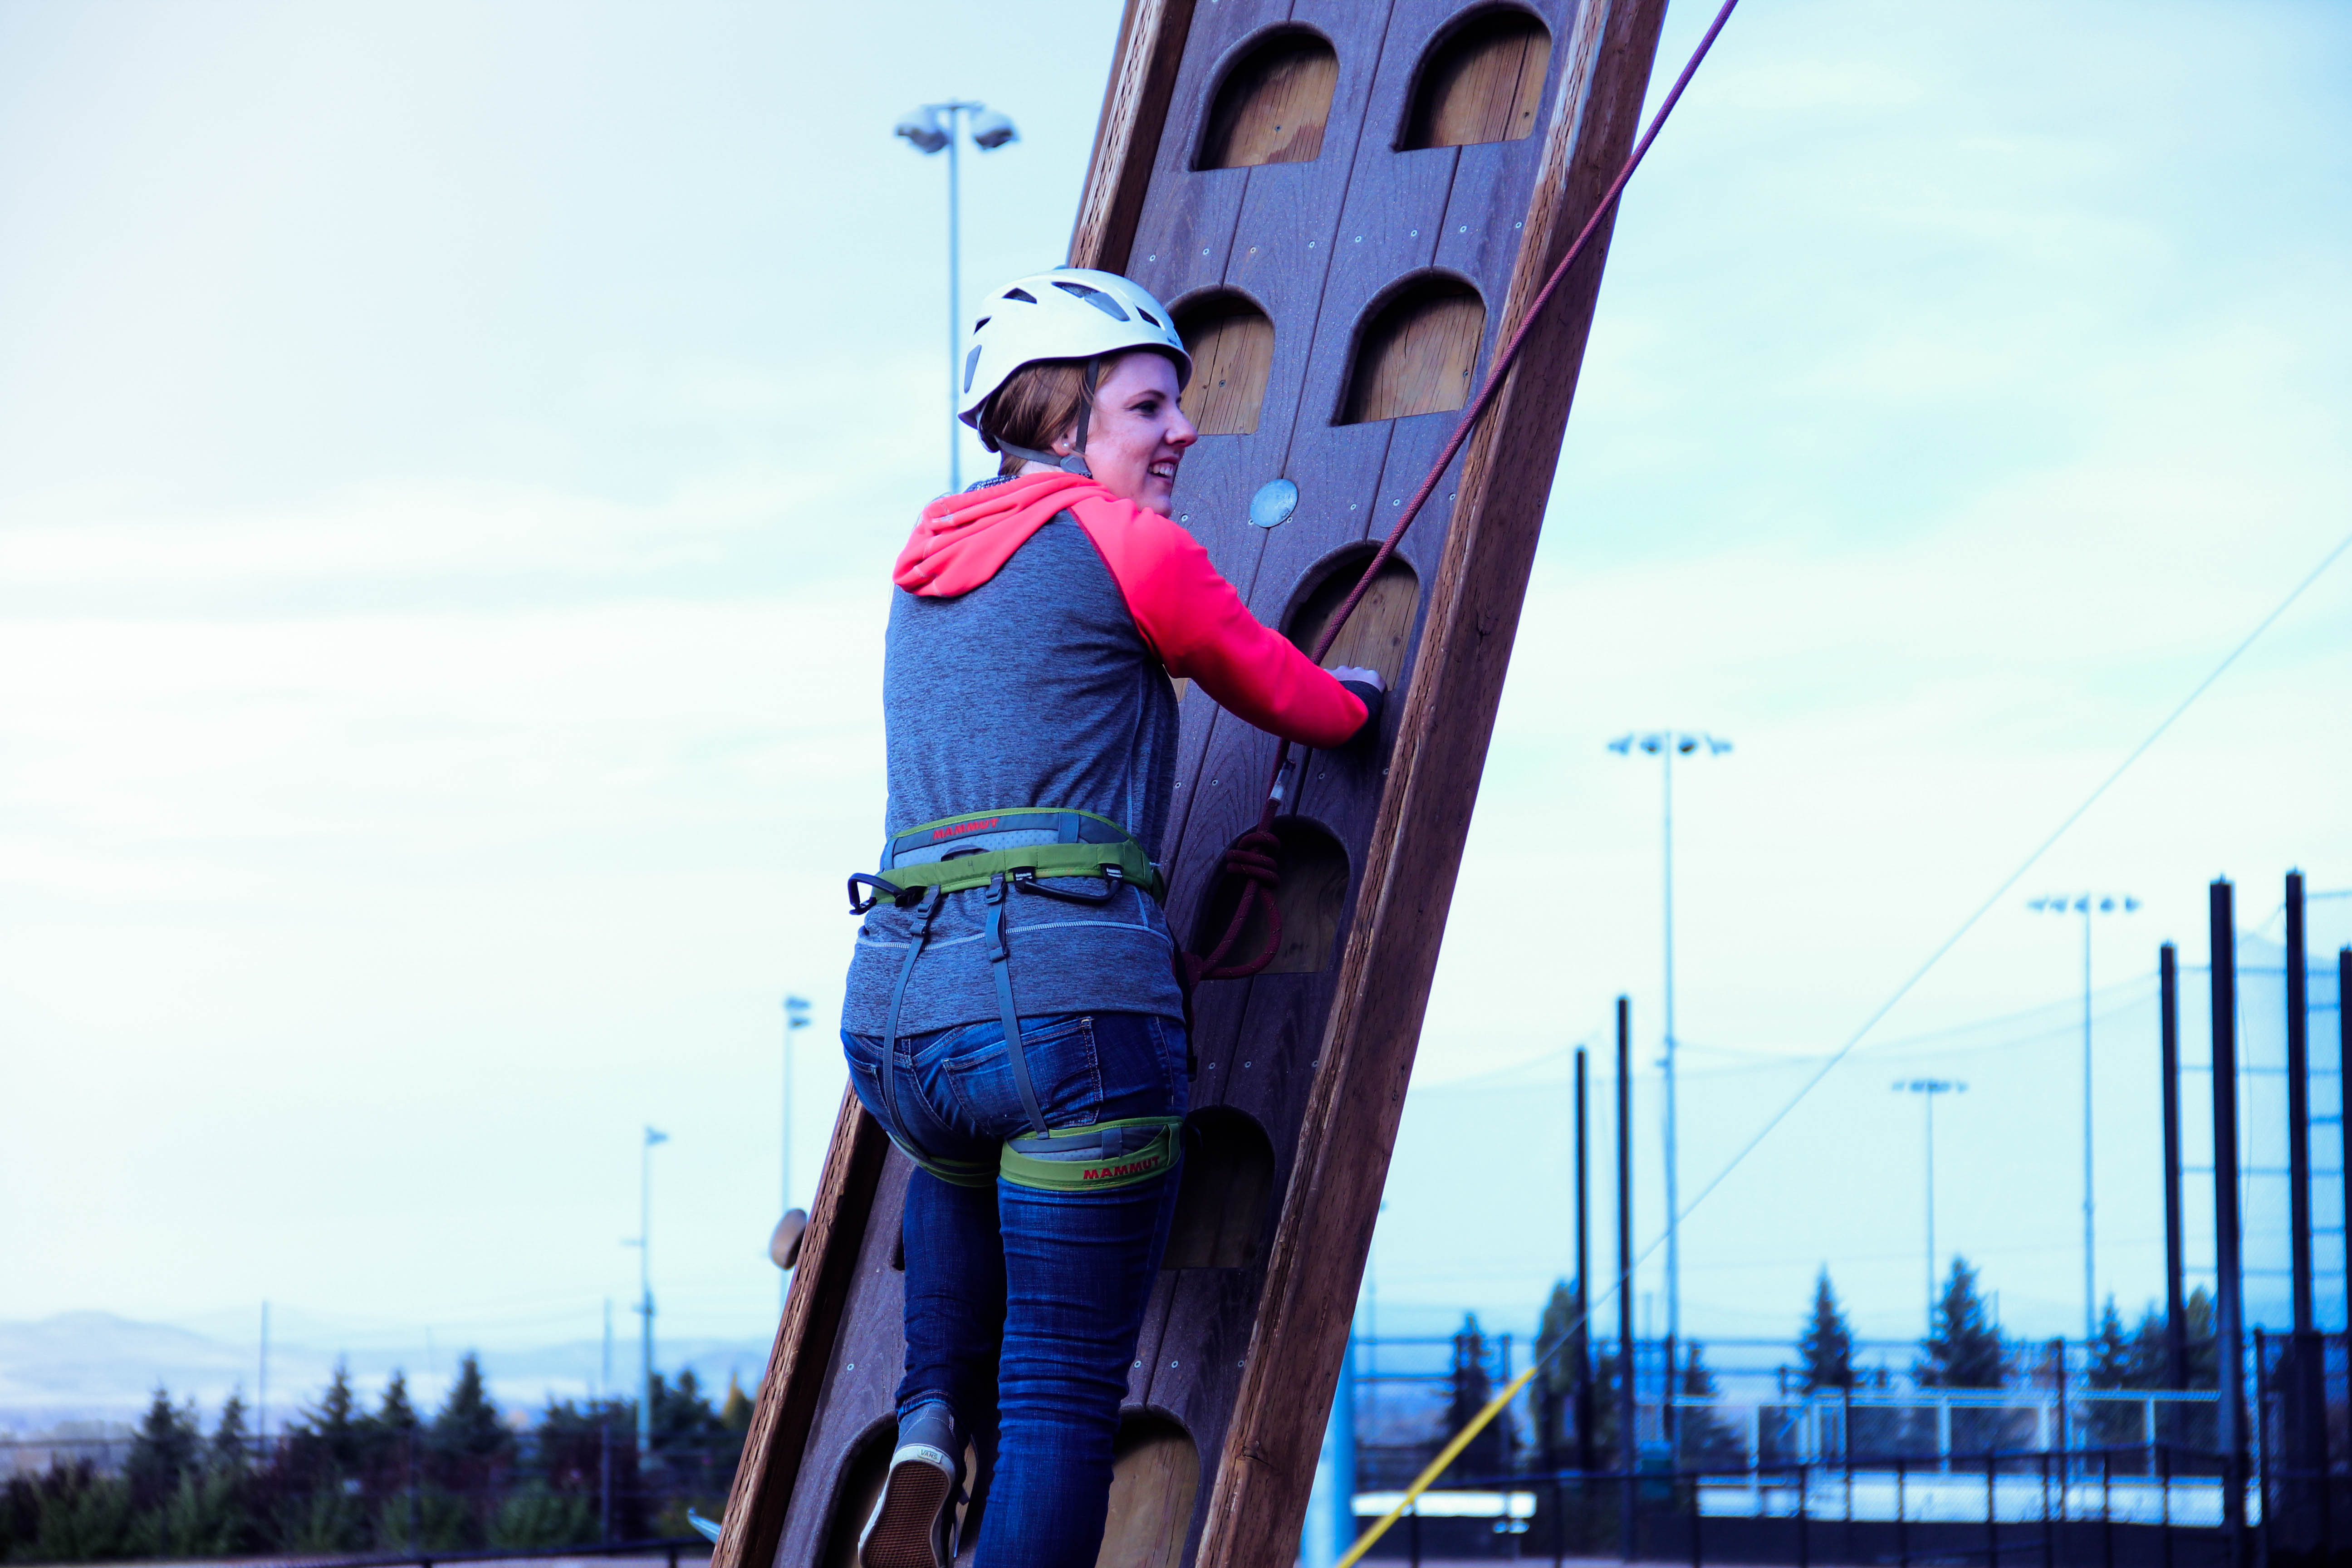
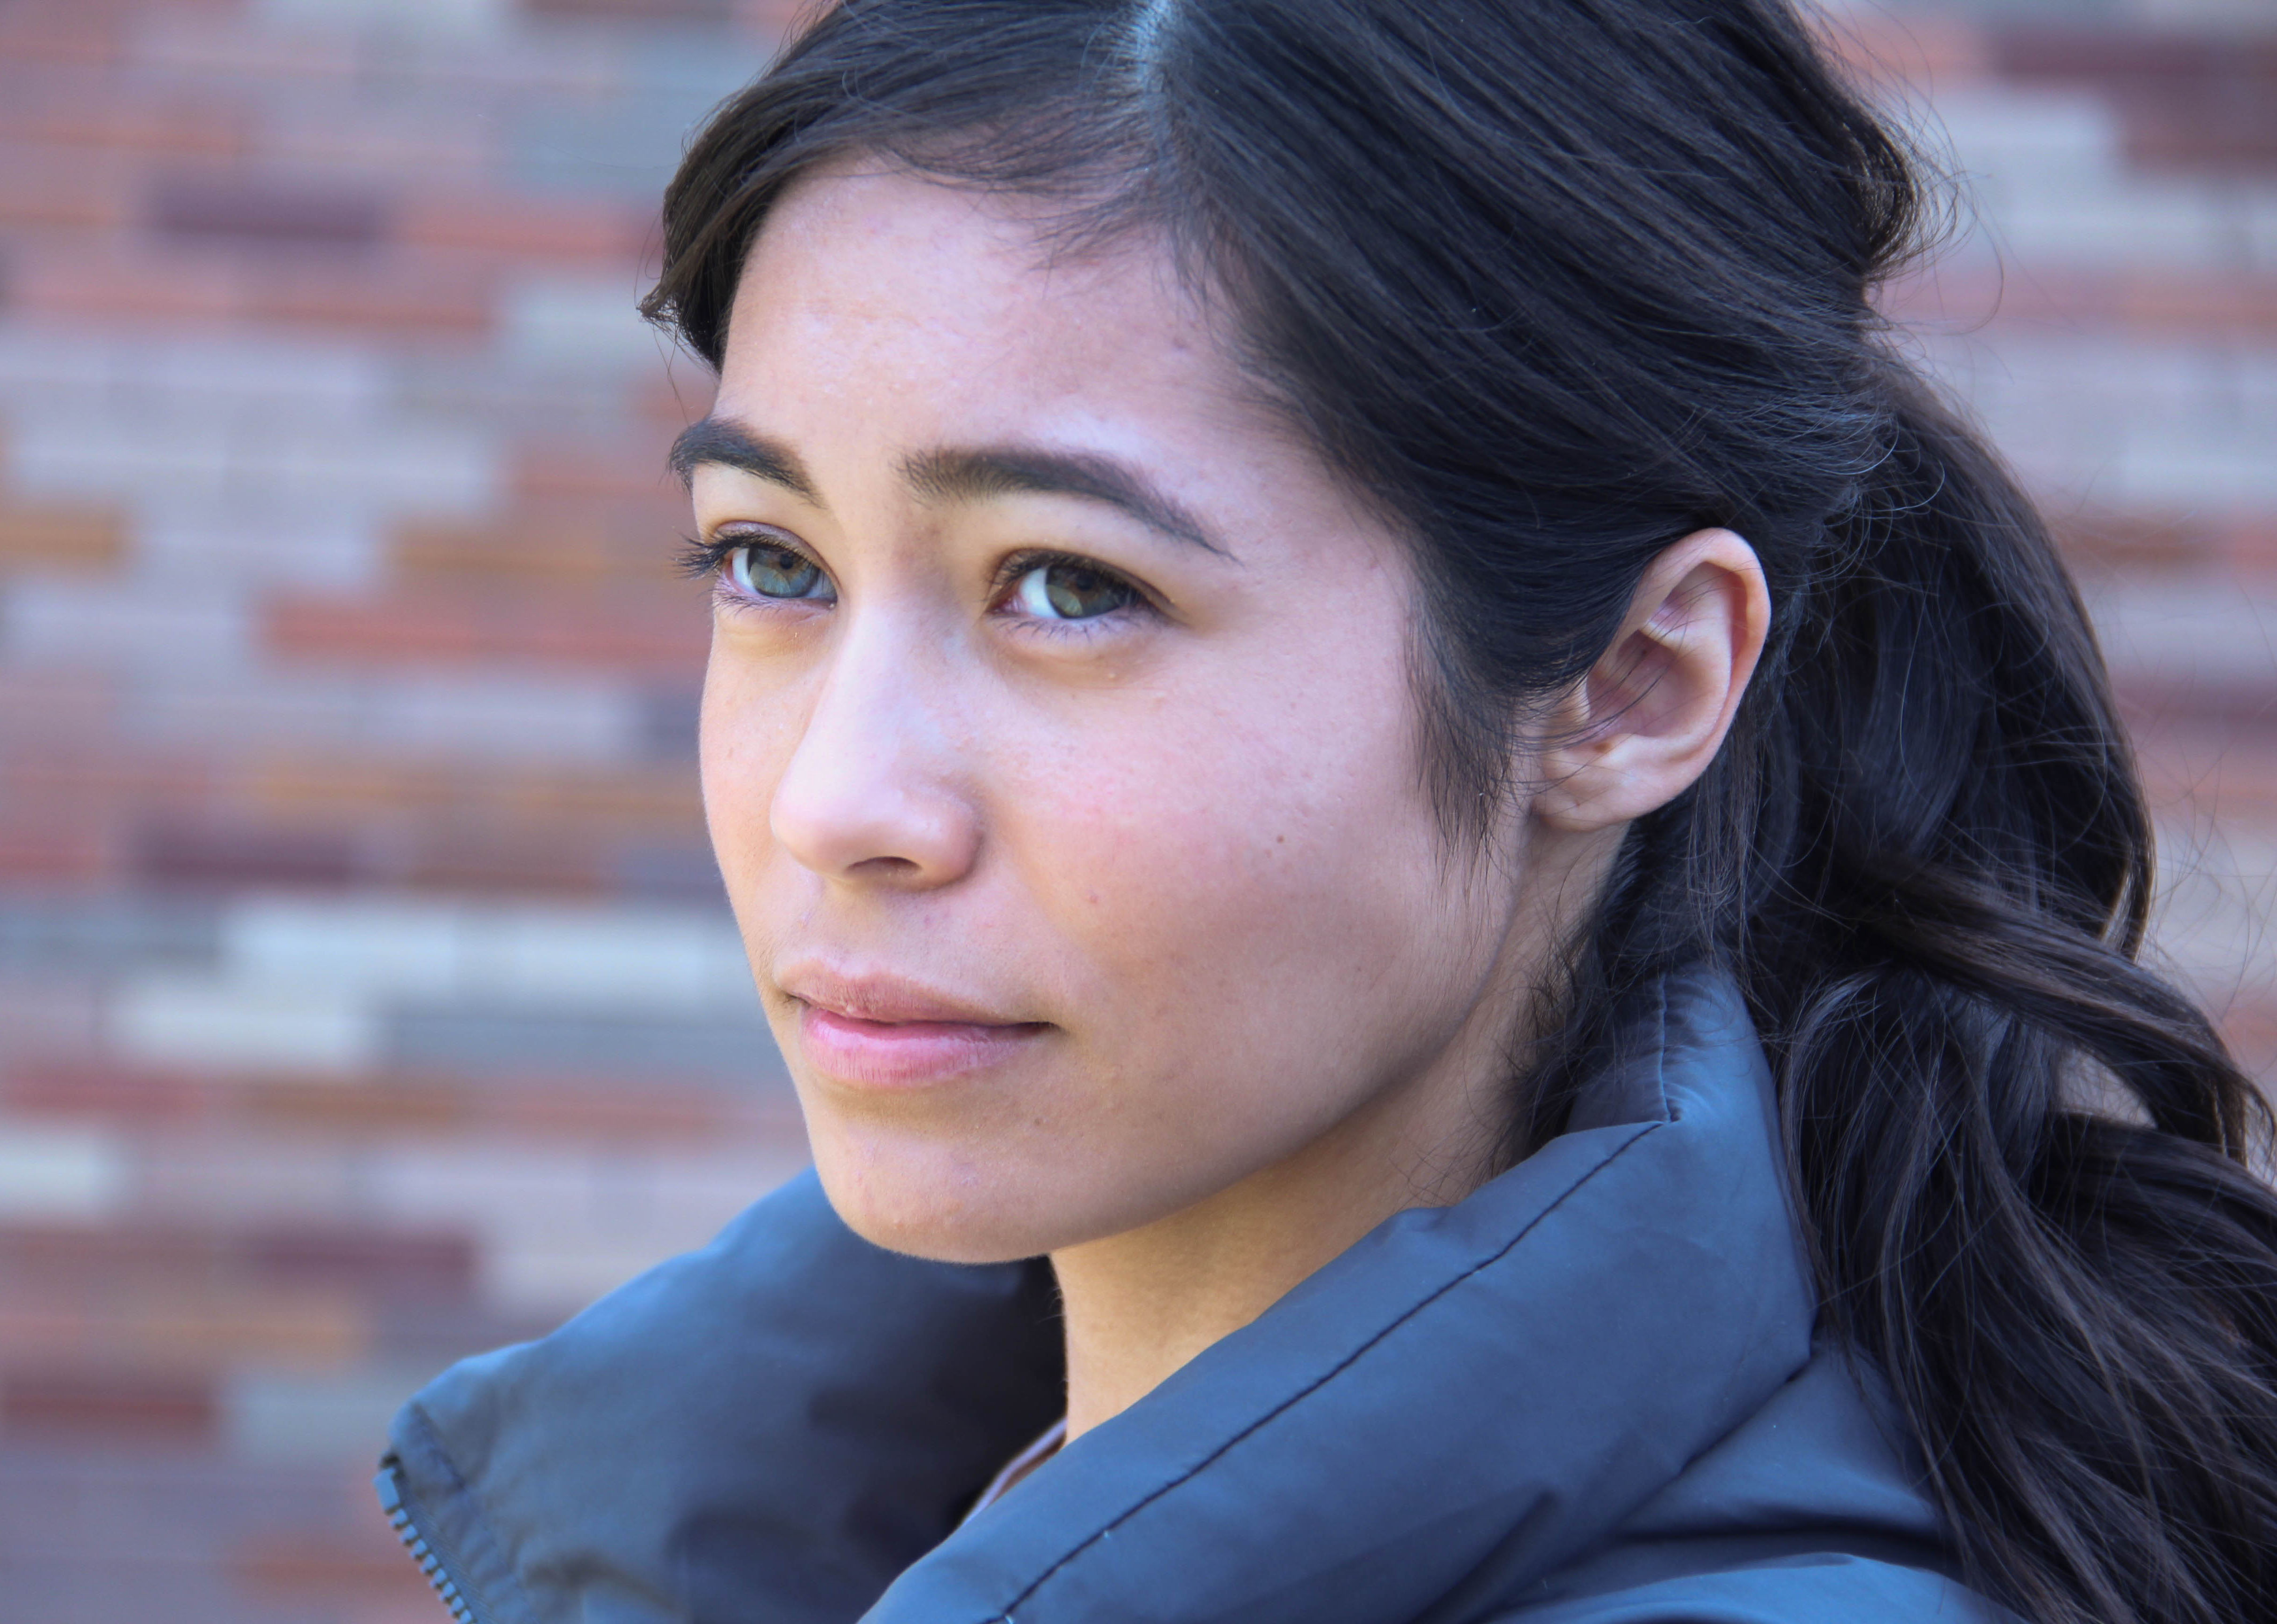
I chose to submit my photos to Shoot the Frame (https://shoottheframe.com/) because it was the easiest for me to sign up for. They had different options that I could choose from as well. They had landscape and portrait entries. I decided to submit 3 of my portrait photos because I felt that they were the best I had throughout the semester. These are the photos I submitted in December. In the future maybe I will submit more photos to this website because it was easy to submit and they provided more options.

gabygonzales-portrait7

GabyGonzales-Portrait4

GabyGonzales-Gray2

Photo Book

I have learned so much this semester in Comm 300. I learned how to use photoshop and how to edit pictures in Lightroom. I also learned how to use a camera! It was one of my more challenging courses this semester, but I am happy that I was able to learn all that I did.

I am glad I get to share my photo book with others to show them all the different things I learned about in this class, and show others the progress I have made with photography. I hope you enjoy looking at my photo book! Thank you!

Covers

GabyGonzales-Photobook

Lightpainting

For this weeks assignment we did light painting workshops. I had only ever done light painting one other time. It was fun learning what works and does not work with light painting. In some of these pictures I exposed more light and made the picture look brighter, and in others I exposed less light, only highlighting certain parts of the object. I hope you enjoy these pictures. I had to edit some of them in Photoshop to get rid of some light trails.


GabyGonzales-Lightpaint1

GabyGonzales-Lightpaint2

GabyGonzales-Lightpaint3

GabyGonzales-Lightpaint4

GabyGonzales-Lightpaint5


Fine Art Print

I chose this picture because I liked how simple it was. I took this picture outside in the fall close to the train tracks in Rexburg. This was one of our first assignments and so I was still learning how to use the buttons on the camera, but once I figured out how to take up close pictures I had a lot of fun with it. I was walking around just taking pictures of whatever I thought was interesting, or anything that was small. This leaf was pretty small so I wanted to zoom in and capture the details on it. I edited the picture in photoshop. I made it a little brighter and sharper. The printing process went well, I hope you like my picture! 🙂


GabyGonzales-leafedited
This is the edited picture.
GabyGonzales-LeafOriginal
This is the original picture.


Photobook: Covers, First spread, TOC, Professional Page

To begin my Photobook album, I edited my pictures in Photoshop and Lightroom, and I designed my layout in InDesign.

This is the front coverGabyGonzales-Cover1

This is the back coverGabyGonzales-Cover2

For my first spread, I chose to use the pictures I used for macro. I created my layout in InDesign.

GabyGonzales-Spread

Here is my Table of Content page that I also created on InDesign.

GabyGonzales-TableofContent

Here is my professional page, that I created on InDesign.

GabyGonzales-ProfPage


Bannack

This picture had a silver reflector used.

GabyGonzales-Portrait2

This picture had auxiliary lighting, flash used.

GabyGonzales-Portrait5


Bracketed Pictures

GabyGonzales-Bracket1

GabyGonzales-Bracket2


Gray Pictures

GabyGonzales-Gray

GabyGonzales-Gray2

Levitation

GabyGonzales-Levitation

Ghost

GabyGonzales-Ghost

GabyGozales-Ghost2

Creative

GabyGonzales-Creative

Light Painting

GabyGonzales-LightPainting

Portraits

GabyGonzales-Portrait1
In this photo I enhanced the lighting in Lightroom and used photoshop to clear the face a little. I had the model pose to the side and used the gold side of a reflector.
GabyGonzales-Portrait2
In this photo I focused more on a face shot, and used the gold reflector. I enhanced the colors on Lightroom.
GabyGonzales-Portrait3
In this photo I had the model stand with his hands in his back pocket. I had to use photoshop to edit out some cars in the background.
GabyGonzales-Portrait4
I enhanced the colors in Lightroom, and enhanced the saturation just a little to make the colors of their jackets pop out more.
GabyGonzales-Portrait5
For this group photo I tried to place the models in a way to make a triangle like shape. I also enhanced the colors and saturation in Lightroom.
GabyGonzales-Portrait6
For the natural environment picture, I took a picture of someone at the ropes course. I enhanced the color and saturation in Lightroom.
GabyGonzales-Portrait7
For this picture, I used photoshop to take away blemishes, and I also used the dodge tool to lighten the eyes and lightened the eyes and lips more to make them more glossy.
GabyGonzales-Portrait8
This was the match color picture where I had used another picture to get this color effect.
GabyGonzales-PortrataitOrignalPhoto
This is the original image.
GabyGonzales-ColorMatch
This is the image I used to make the color match.
GabyGonzales-Portrait9
In this photo I changed the color of her sweater from yellow to red. I used photoshop and the Hue/Saturation tool to do this.
GabyGonzales-OriginalPhoto
This is the original image.

Lighting with Reflectors

gold
In this photo I used the gold reflector. It really brightened up the picture. I had someone angle it from the side so the gold would reflect off of the person.
withoutreflector
In this photo I did not use any reflectors. The lighting is not as good and there are many shadows reflecting in this photo as well.
silver
In this photo I used the silver reflector. It was a bit bright so we feathered the reflector just a little. The silver gave the picture a brighter light.
white
In this photo I used the white reflector to give the picture more natural light. I also had someone angle the reflector from the side to give it just enough natural light.