Portraits

GabyGonzales-Portrait1
In this photo I enhanced the lighting in Lightroom and used photoshop to clear the face a little. I had the model pose to the side and used the gold side of a reflector.
GabyGonzales-Portrait2
In this photo I focused more on a face shot, and used the gold reflector. I enhanced the colors on Lightroom.
GabyGonzales-Portrait3
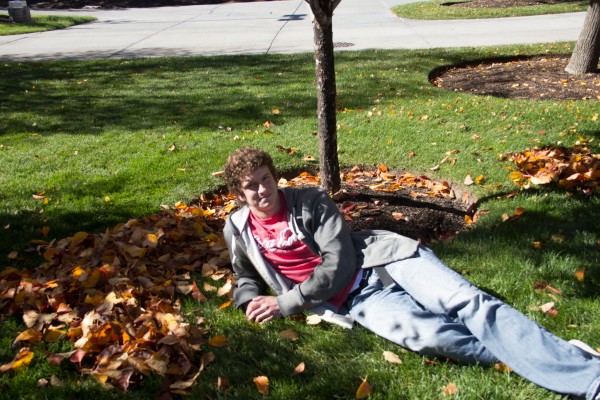
In this photo I had the model stand with his hands in his back pocket. I had to use photoshop to edit out some cars in the background.
GabyGonzales-Portrait4
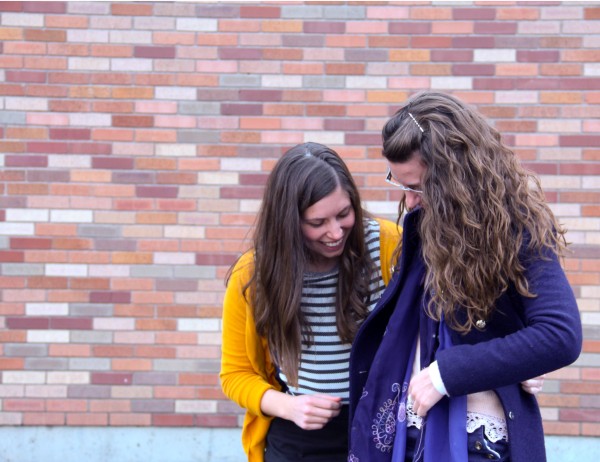
I enhanced the colors in Lightroom, and enhanced the saturation just a little to make the colors of their jackets pop out more.
GabyGonzales-Portrait5
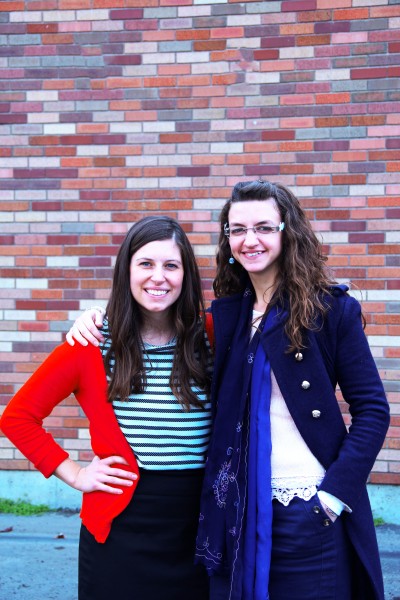
For this group photo I tried to place the models in a way to make a triangle like shape. I also enhanced the colors and saturation in Lightroom.
GabyGonzales-Portrait6
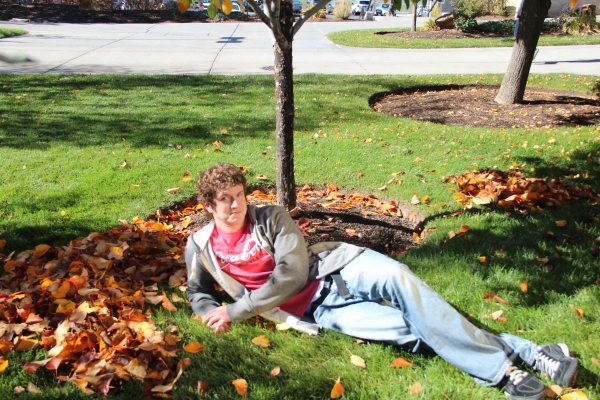
For the natural environment picture, I took a picture of someone at the ropes course. I enhanced the color and saturation in Lightroom.
GabyGonzales-Portrait7
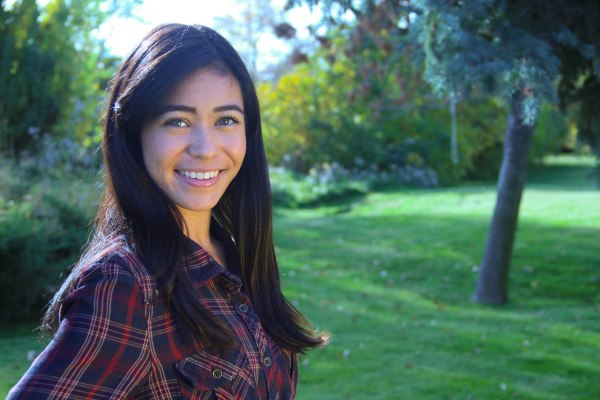
For this picture, I used photoshop to take away blemishes, and I also used the dodge tool to lighten the eyes and lightened the eyes and lips more to make them more glossy.
GabyGonzales-Portrait8
This was the match color picture where I had used another picture to get this color effect.
GabyGonzales-PortrataitOrignalPhoto
This is the original image.
GabyGonzales-ColorMatch
This is the image I used to make the color match.
GabyGonzales-Portrait9
In this photo I changed the color of her sweater from yellow to red. I used photoshop and the Hue/Saturation tool to do this.
GabyGonzales-OriginalPhoto
This is the original image.

Lighting with Reflectors

gold
In this photo I used the gold reflector. It really brightened up the picture. I had someone angle it from the side so the gold would reflect off of the person.
withoutreflector
In this photo I did not use any reflectors. The lighting is not as good and there are many shadows reflecting in this photo as well.
silver
In this photo I used the silver reflector. It was a bit bright so we feathered the reflector just a little. The silver gave the picture a brighter light.
white
In this photo I used the white reflector to give the picture more natural light. I also had someone angle the reflector from the side to give it just enough natural light.


Close Ups of Plants, Flowers, Fruit

GabyGonzales-Plant
I took this photo on my balcony. I poured a little bit of water onto the plant. The lighting was nice because the sun was still bright outside. I tried to focus on the droplet at the end of the plant as it was dripping off. I used Lightroom to enhance the colors.
IMG_9069
This tree had some fruit on it that I thought were different. I tried getting really close with my camera to the fruit. I had to use Lightroom to enhance the colors of the fruit because they are actually really dark.
GabyGonzales-PinkFlower
In this picture it is a little bit more difficult to see that there is water on the flower. The water is what is making it look glossy, and there is water inside the flower as well. The flower looked glossy because of the lighting, but I thought it was different. I also had to enhance the colors to make them brighter.
GabyGonzales-PurpleFlower
This flower had multiple droplets on it that I tried to capture from a different angle. I also needed to enhance the colors on this photo as well. I tried to show the droplets of water around the flower.
GabyGonzales-YellowFlower
In this photo I had to get really close to the flower. I had my friend pour water on to it. This photo shows the water splashing off of it. I also had to enhance the colors on Lightroom.

File Management Tutorial: Lightroom

I have never used Lightroom before I am not familiar with it at all. Managing files and learning how to import photos was a good start to learn how to use the program. I googled other video tutorials on how to get started in Lightroom and went from there. Managing files is a good start to begin using this program in the future. I got most of my inspiration from this particular video tutorial that I found the easiest to follow along with. (http://tv.adobe.com/watch/getting-started-with-adobe-photoshop-lightroom-5/lightroom-5-organizing-your-images/)

Here is the link to my PDF tutorial  GabyGonzales-tutorial
PERPSECTIVE OF 12

IMG_0024 copy
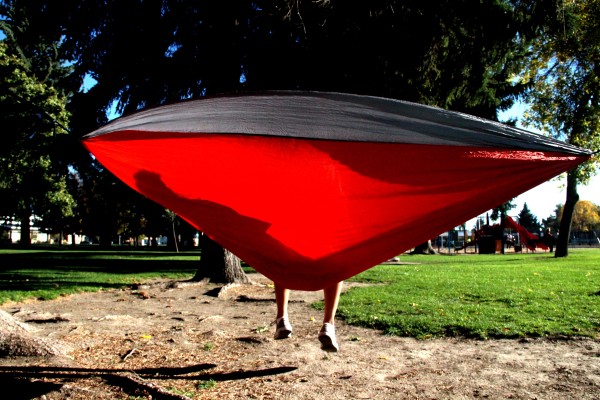
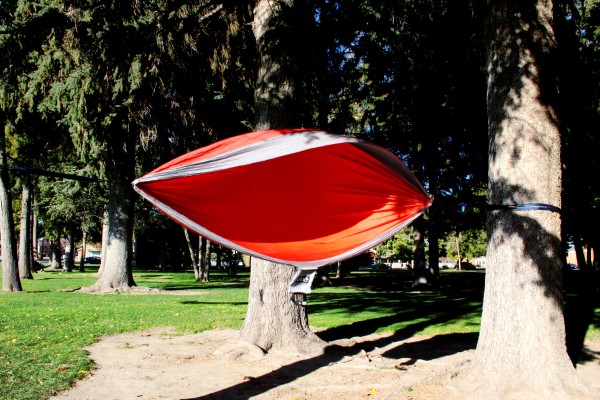
It was very windy and so in this picture I wanted to capture the wind blowing the hammock back.
IMG_0060 copy
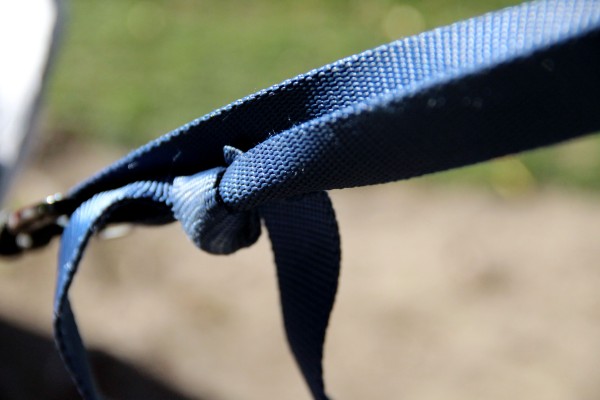
This is one of the knots that was tied in order to keep the hammock up. I had to enhance the colors because the lighting was darker.
IMG_0044 copy
In this picture I wanted to get the perspective of the person sitting inside of the hammock and what they see when they are sitting down.
IMG_0055
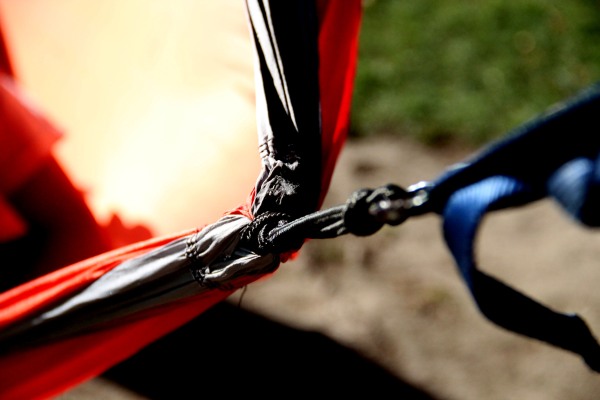
This lock helped keep the hammock up. I also had to enhance the colors. I wanted to capture the most of the rope that was used to keep it up.
IMG_0058 copy
I also had to enhance the colors to make them bolder. I like the orange and black of the hammock and I wanted to capture the angle above the hammock in this picture.


I took pictures of a hammock and in this picture I wanted to get the back of the hammock with someone sitting inside of it.


IMG_0086 copy copy2
In this picture I used the blending method on photoshop. I used a sky texture to capture the effect of the feet dangling off of the hammock.
IMG_0086 copy
This is the original picture of the feet hanging from the hammock with the rope hanging down from it as well.
Skies0223_1_S
This is the photo that was used from textures.com that i used to blend in with my photo with the feet dangling.
collagehamock
I created this collage from photoshop.


Depth: Deep and Shallow

ISO 200, F/22, 1/40
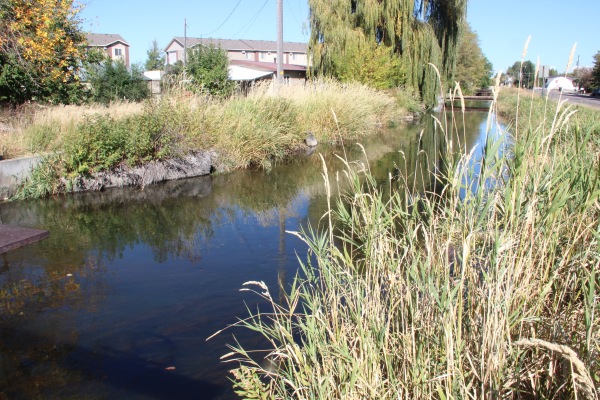
ISO 200, F/22, 1/40 I took this picture by the train tracks. I took it in the afternoon, the sun was bright. I was trying to get the depth of the water.
IMG_0263
ISO 200, F/ 5.6, 1/1600 In this picture I tried to capture the simplicity of the plant. The plant was blowing in the wind and I liked the light colors. 
IMG_0269
ISO 200, F/22, 1/40 In this picture I tried to capture the depth of the train tracks. I sat down to take this picture in order to get a better depth picture.
IMG_0293
ISO 200, F/5.6, 1/2000 In this picture I saw broken glass on the side of the road. I really liked the colors and how it blended in with the small rocks around it.
ISO 200, F/5.6, 1/1000
ISO 200, F/5.6, 1/1000 In this picture I tried to capture the simplicity of the object. I liked that this very small leaf was hanging by itself. I liked the colors.